
News
CAT6A
Installation Guide: Setting Up Indoor CAT6A Cable Reels
If you're looking to enhance your home or office network with faster speeds and better performance, using Indoor CAT6A cables is a great solution. Known for their ability to support higher speeds, up to 10Gbps over longer distances, these cables are perfect for modern networks that require high-speed internet and reliable performance. This guide will walk you through the process of setting up Indoor CAT6A cable reels, ensuring your network runs smoothly and efficiently.
Why Choose Indoor CAT6A Cables?
Before diving into the installation process, it's important to understand why Indoor CAT6A cables are a preferred choice for many. These cables are designed for high-performance data transfer and are suitable for gigabit internet connections and beyond. The CAT6A cable benefits include reduced crosstalk, improved signal integrity, and the ability to support faster speeds over longer distances.
Unlike standard CAT6 cables, CAT6A cables feature better shielding, which minimizes interference and ensures your network remains stable, even in high-demand environments. They are also built to support 10-Gigabit Ethernet (10GbE) over distances of up to 100 meters (328 feet). This makes them an ideal choice for both commercial and residential applications, especially for those needing high-performance networking.
Choosing the Best CAT6A Cable for Your Home Network
When setting up your indoor CAT6A installation, one of the first steps is choosing the best CAT6A cable for home network use. While all CAT6A cables offer similar technical benefits, some are more suited to specific needs than others. Consider the following factors when choosing the right cable:
Cable Length: Ensure the cable is long enough to cover the distance between your network devices without causing slack or strain.
Shielding: If you're installing the cable in an environment with high interference (e.g., near electrical equipment), opt for shielded cables (STP) to minimize signal disruption.
Flexibility: Look for cables with a high degree of flexibility if you're planning to install them in tight spaces or need to navigate around corners.
By understanding these factors, you'll be able to select the best cable for your needs, ensuring a seamless Indoor CAT6A installation.
Tools You’ll Need for Installation
To make the installation process go smoothly, gather the following tools and equipment before you begin:
Cable Reel: A good quality reel ensures that the cable is unwound evenly, preventing tangling and unnecessary stress on the wires.
Cable Strippers: These will help you remove the protective coating around the wires without damaging the inner conductors.
Crimping Tool: For attaching connectors like RJ45 to the cable ends.
Measuring Tape: To measure the required cable length accurately.
Cable Management Clips or Ties: These will help keep your cables organized and prevent them from sagging or getting caught.
Drill: If you're drilling holes in walls or ceilings to run the cables.
With the right tools at hand, you’ll be able to install your Indoor CAT6A cables efficiently and effectively.
Step-by-Step Guide for Installing Indoor CAT6A Cables
Step 1: Plan Your Network Layout
Before you start unwinding the cable, take time to plan the network layout. This will save you time and help prevent mistakes during installation. Consider where your network devices (such as routers, switches, or computers) will be placed, and identify the shortest and most direct path for the cable to travel.
If you're installing cables through walls or ceilings, mark the spots where you’ll need to drill holes. Use a measuring tape to determine the exact cable lengths needed for each section. This helps prevent wastage and ensures that each cable is cut to the correct length.
Step 2: Unwind the Cable from the Reel
Once you’ve mapped out your cable paths, it’s time to start unwinding the Indoor CAT6A cables from the reel. Begin at one end of the cable and pull it slowly, ensuring it doesn’t twist or knot. As you move along the cable path, carefully lay the cable flat to avoid kinks or damage.
Be mindful of the cable’s twist, as excessive twisting can impact the quality of the signal. This is especially important when you are installing long runs of cable, as a tight twist can degrade performance over time.
Step 3: Cut and Strip the Cable
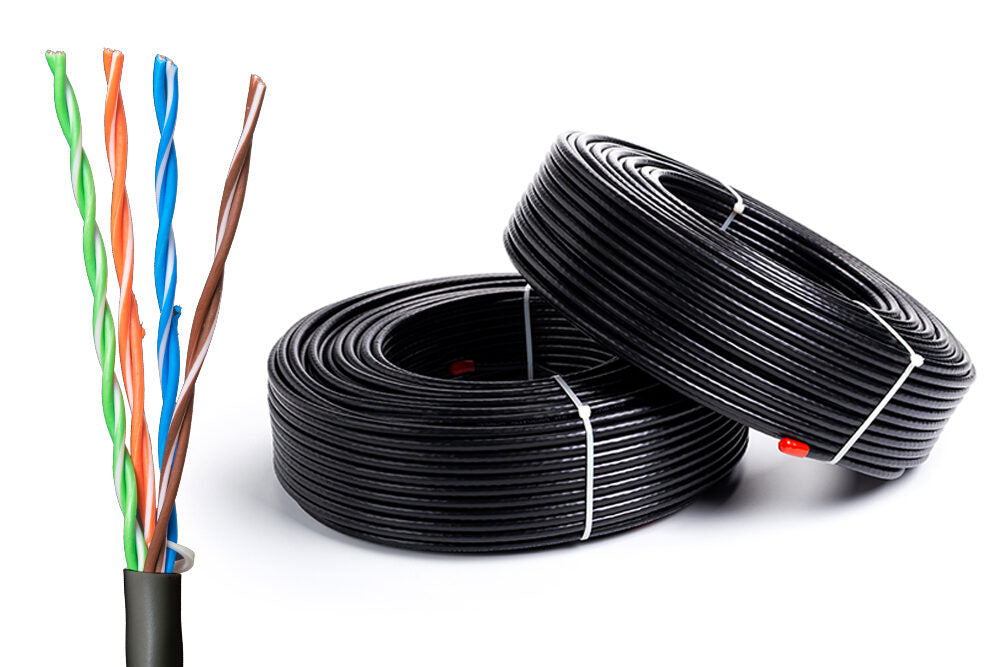
When you reach the desired length, use your measuring tape to measure and cut the cable accordingly. Ensure that the cut is straight to avoid uneven edges. After cutting, use your cable strippers to remove the outer jacket of the cable, exposing the four twisted pairs of wires inside.
Be careful not to nick or damage the individual wires during this process. The goal is to expose the bare copper wires without affecting their integrity.
Step 4: Attach RJ 45 Connectors
The next step is to attach RJ45 connectors to the ends of the cables. This is where the crimping tool comes in handy. Begin by twisting the pairs of wires slightly and arranging them according to the standard wiring configuration (T568A or T568B). Insert the wires into the RJ45 connector, ensuring that each wire is fully seated at the end of the connector.
Use the crimping tool to secure the connector onto the cable. The tool will push metal pins inside the connector into the individual wires, ensuring a solid electrical connection.
Step 5: Test the Cable
After attaching the connectors, it’s important to test the cable before finalizing the installation. Use a cable tester to check for any faults in the connection. The tester will verify if the wiring is correct and if the signal is being transmitted properly. Testing ensures that there are no loose connections or incorrect wiring that could lead to network issues down the line.
Step 6: Secure the Cables and Complete the Installation
Now that your cables are ready, it’s time to secure them in place. Use cable management clips or ties to keep the cables neat. Secure them to walls, ceilings, or along baseboards to prevent sagging and ensure they’re out of the way. If necessary, drill small holes to feed cables through walls or ceilings, but always be cautious of existing electrical wiring or pipes.
Ensure that the cables are not pinched or overly bent as this can damage the internal wiring and affect network performance.
Tips for Successful Indoor CAT6A Installation
Avoid Sharp Bends: While running the cables, avoid sharp bends or twists. This can damage the cable and reduce its performance.
Use Cable Ties for Organization: Keeping cables organized will make future troubleshooting easier.
Consider Future Expansions: Leave extra cable length in case you need to expand or modify your network setup in the future.
Conclusion
Installing Indoor CAT6A cables can significantly enhance your home or office network, providing faster speeds and more reliable connections. By following this step-by-step guide and using the right tools and techniques, you can ensure a smooth installation process.
Whether you’re installing the best CAT6A cable for your home network or upgrading your current setup, taking the time to plan and execute the installation properly will result in a high-performance network that meets all your needs. Always remember to test the cables, avoid sharp bends, and keep things organized for a hassle-free setup. With these steps, your Indoor CAT6A installation will be a success, delivering the speed and performance your network deserves.